Feeling artsy? Here’s eight textured wall paint techniques to try, and trust me, they’ll make your space super adorable! Go wild sponging for cozy vibes or rag rolling for dreamy clouds. Try stippling to add a playful touch, or brushed pearl for a magical glow. Venetian plaster looks oh-so-luxurious, while crackle finish brings vintage charm. Color washing whispers “dreamy,” and sanding gives rustic feels. Each promises to transform your walls into total delight! There’s more fun where this came from!
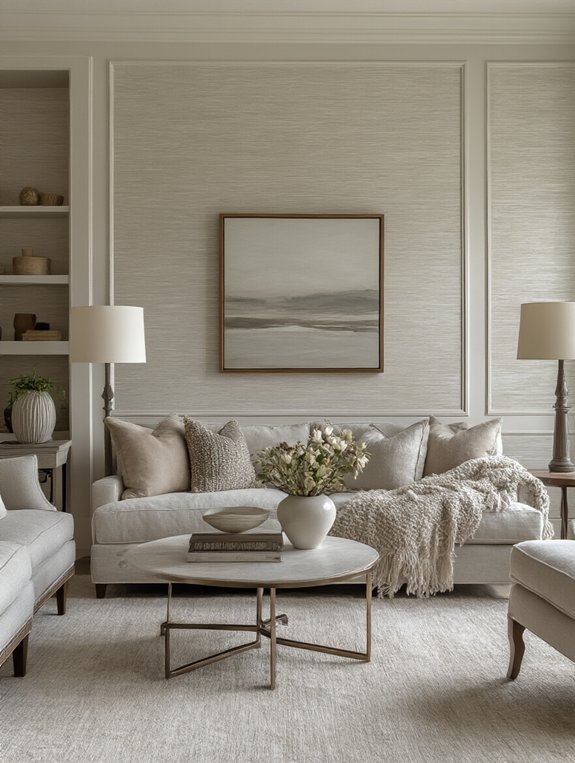
Sponging
Ready to plunge into the world of sponging? You’re going to love it! Sponging’s like giving your walls an adorable makeover that radiates warmth and coziness. Imagine using a natural sea sponge, also known as a “paint whisperer,” to dab delightful textures onto your wall! It’s a simple yet fabulous way to add character and charm without breaking a sweat. Plus, you get to play with colors—maybe try your favorite sunset shades or that cozy cottage cream you adore! Just think about how your friends will gush over your newly transformed space! With sponging, you’re not just painting; you’re creating art that makes your home feel uniquely yours. So, grab your sponge and go for it!
Rag Rolling
If you’re craving more creativity after sponging, let’s chat about rag rolling! Rag rolling is like giving your walls a soft, cozy hug with paint! You take a regular old rag (an eco-friendly moment!), and roll it along your wall. This technique creates adorable, cloud-like textures that give any room a delightful, dreamy vibe. Picture your living space wrapped in a warm, invigorating blanket of color!
This method is perfect for:
- Adding personality to a boring wall
- Hiding imperfections (shh, we won’t tell!)
- Creating a lively, artistic backdrop for your decor
Plus, you won’t need fancy tools, just a rag and some elbow grease! So grab a rag, rock that paint, and let your walls sing with joy!
Stippling
Ready to add some delightful texture to your walls with stippling? You’ll need a trusty paintbrush, some adorable speckled rollers, and your favorite colors—let’s call them “Joyful Sky” and “Cozy Cottage”! Follow these steps with a sprinkle of creativity, and you’ll have a home that’s both playful and unique in no time!
Materials and Tools Needed
Oh, my decorating stars! If you’re diving into the world of stippling, you’re in for a delightful painting journey. Let’s talk about what you’ll need! First off, grab a stippling brush. It’s like your magic wand in this adorable art adventure. You’ll want the kind that feels cozy in your hand and dances on walls with finesse. Don’t forget the paint! Choose your favorite colors—those that speak to your heart and transform any room into a whimsical wonderland.
Now, I know you probably have an old shirt (or five)! Wear one, because it’s about to get splashy! And, of course, keep painter’s tape close. It’s your trusty sidekick, guarding trims and corners like a paint superhero! Ready to create your wall masterpiece? Let’s go!
Step-by-Step Application Process
Get that stippling brush ready to dance on your walls with flair! Imagine transforming your room into a cozy, delightful space with just a few fun steps. You’re like the Picasso of stippling! First, pick your perfect paint shade—let’s go for something adorable and inviting. Dip your stipple brush into the paint, but not too much, or you’ll end up with a big blob instead of cute dots!
Now, dab your brush on the wall in a random pattern. Be light on your feet like you’re tap dancing at a party! Each tap adds a lovely texture. If you’re feeling adventurous, mix in a second color for an extra charming touch. Watch your walls come alive with exciting textures! You’ve got this!
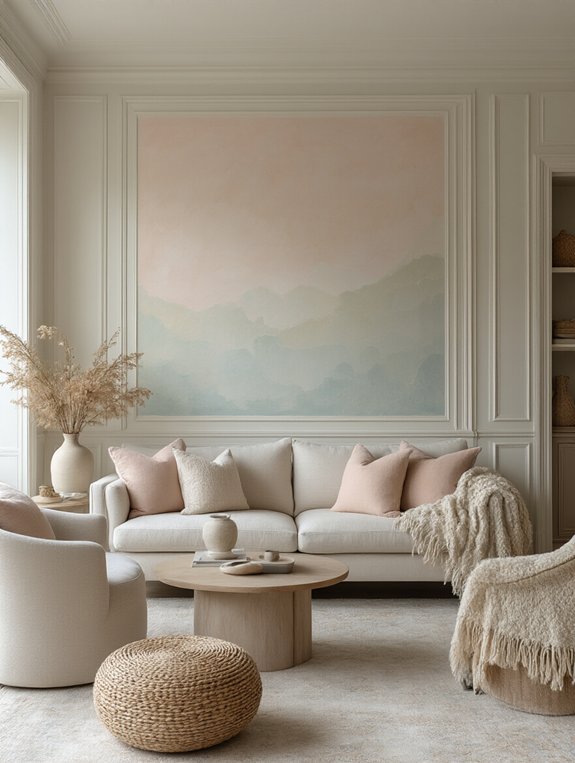
Brushed Pearl
Envision turning your walls into a stunning pearl-like wonderland with Brushed Pearl paint! It’s the kind of transformation that makes you want to invite everyone over just to show it off. Imagine this: soft, elegant colors with a shimmery glow that bounces light around your room like magic! Who wouldn’t love walls that seem to whisper little delightful secrets?
Let’s talk techniques, friend! You don’t need to be Picasso to achieve this gorgeous look. A simple brush in your hand, and you’re ready to create a masterpiece. The best part? It’s all about your vibe—whether you want your room to feel like a fairy tale or a trendy art studio. So grab your brush, channel your inner artist, and let those pearl tones dazzle!
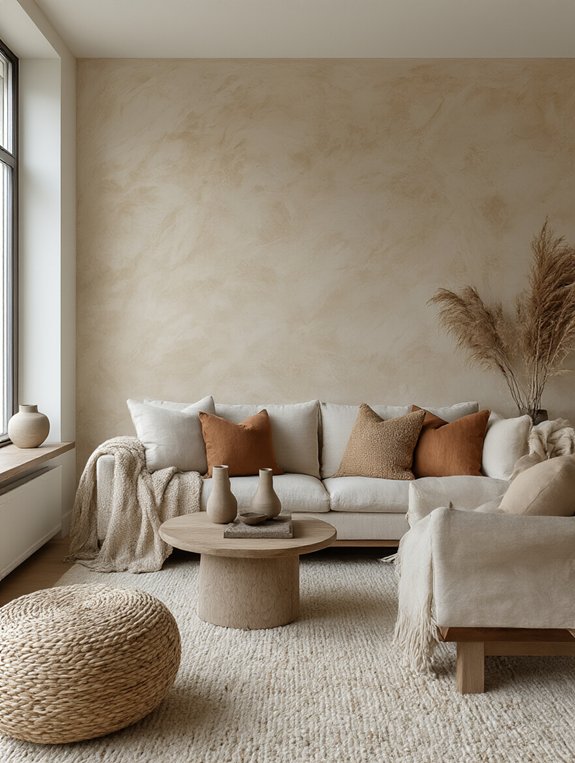
Venetian Plaster
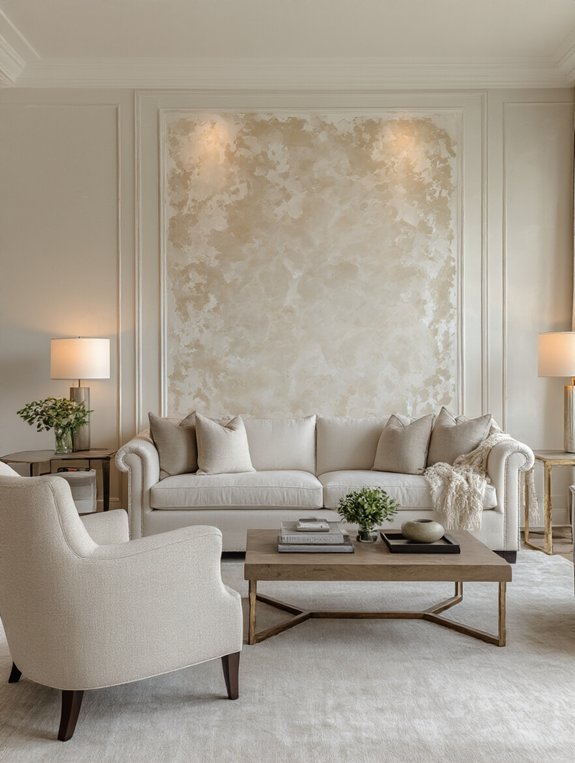
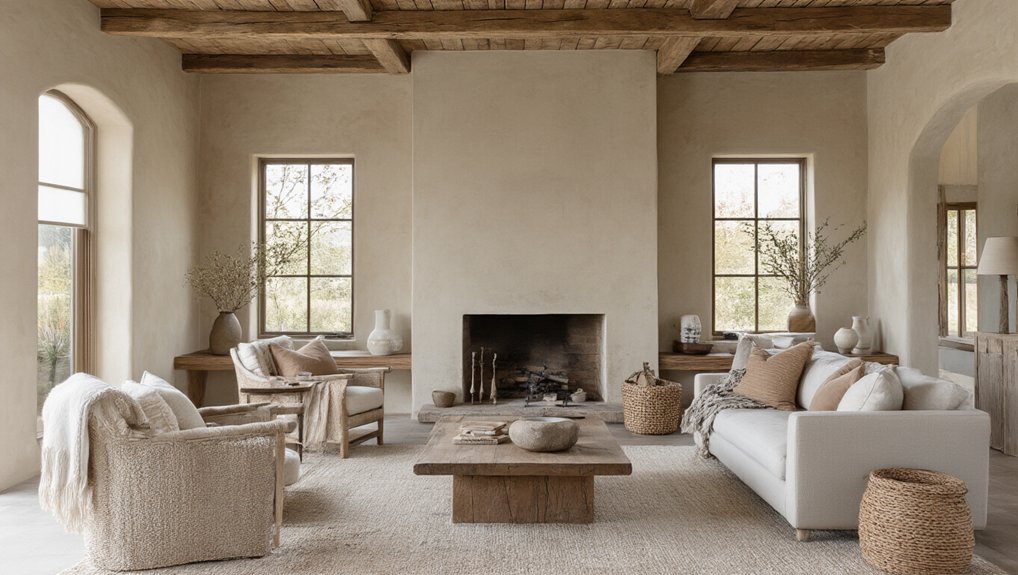
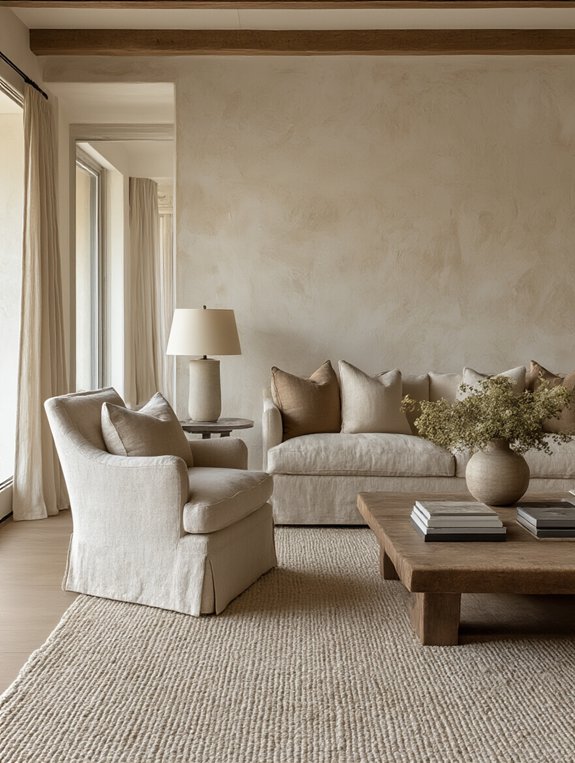
Venetian Plaster—a design trend that never goes out of style! Imagine transforming your walls into masterpieces with this delightfully luxurious finish. You’re basically crafting art on your walls, making them look cozy and expensive at the same time! It’s like brushing elegance across your home with a touch of Italy—talk about fancy!
When you use Venetian Plaster, you’re not just painting; you’re giving rooms a rich and classical touch. And let’s be real, who wouldn’t want their house to feel like a grand Italian villa? The texture adds character and depth. Plus, it’s versatile, so you can go modern or stick with timeless looks!
Crackle Finish
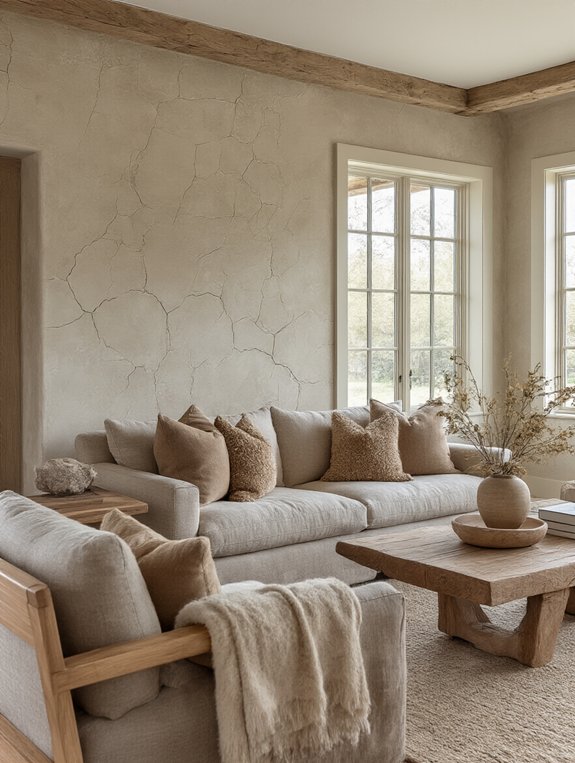
Crackle Finish—oh, what a delightful twist for your walls! Imagine turning your living room into an art exhibit with just paint and a bit of magic. It’s like giving your walls adorable, vintage-style charm. You can create cozy, aged looks that say, “Hey, I’ve got stories to tell!” Plus, it’s super fun and could be your next favorite DIY project!
Start with a base coat, layer on the crackle medium (imagine it as a magical potion!), and paint over it. Watch the cracks form like a puzzle coming to life! Choose fun color combos like creamy white over soft blue or zesty yellow over a rich brown. It’s unpredictable and exciting—like baking but for your walls! So, ready to crackle and roll?
Color Washing
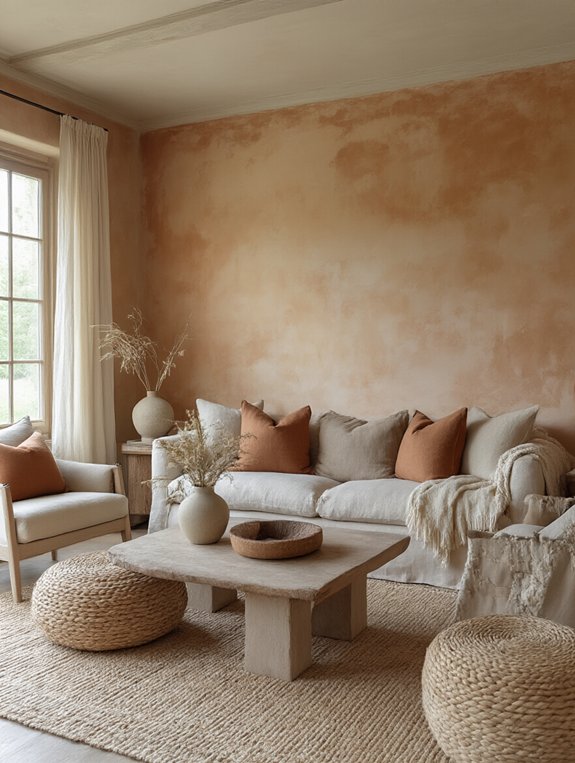
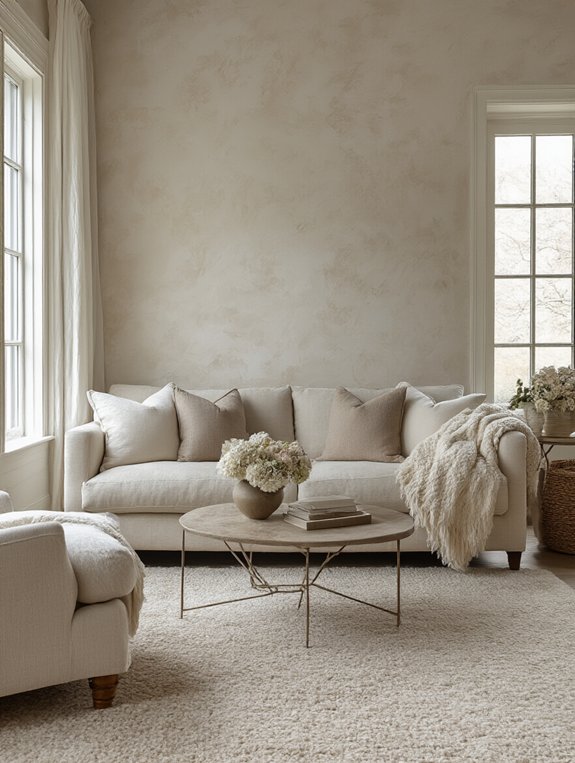
Although color washing sounds like some mysterious art form, it’s actually a delightful way to give your walls a soft, dreamy look! Imagine strolling through a fairytale cottage and suddenly your walls whisper, “Hey, let’s add a touch of magic here!” With color washing, you create an adorable, cozy vibe that’s perfect for any room. Just grab two paint colors—one lighter and one darker—and a big, fluffy brush or sponge. It’s like painting with clouds!
Think of the walls wearing your favorite cozy sweater. It’s that magical! With a few swirls and swooshes, your room gets a lovely, textured feel. Magic Mist or Sunny Swirl can be your partner in color fun. So, let your imagination run wild and make those walls sing your favorite colors!
Sanding Technique
Color washing brings that dreamy, magical aura, but if you’re looking to add some rustic charm, the sanding technique might be your new best friend! Imagine your walls with a delightful, cozy vibe, like a cute cabin in the woods! You start by painting a base color and then another on top. The fun part? Grab some sandpaper and gently rub away parts of the upper coat. It’s like a treasure hunt, revealing hidden layers and creating that adorable distressed look! You get to decide how much of each color shows, making it super personal. My aunt tried it on her living room walls, and her house is now our go-to “cozy fest!” Embrace the chaos, and enjoy your masterpiece!
Frequently Asked Questions
How Do I Choose the Right Paint Color for Textured Techniques?
Choosing the perfect paint color for textured techniques is like picking out an adorable outfit for your walls! Consider the room’s vibe—do you want something cozy or upbeat? Light colors, like soft cream or delightful pastel, make spaces feel airy and bright, while deeper tones, like navy or forest green, add drama and elegance. And don’t forget to test samples on the wall—because paint names can be deceiving! You got this, Picasso!
Can I Apply Multiple Textures in One Room?
Of course, you can! Combining textures creates magic in your room! Did you know that 80% of people believe textures add character to spaces? Imagine mixing “Fluffy Cloud” and “Misty Mountain” textures for a dreamy vibe. It’s like giving your walls cozy pajama hugs! So, go wild! Create a delightful dance of textures on your walls, blending adorable patterns for a uniquely cozy atmosphere that’s sure to impress your guests!
What Base Coat Should I Use for Contrasting Textures?
You’ve gotta start with a neutral base coat, like a cozy off-white or delightful light gray! These colors are perfect because they make your contrasting textures pop like popcorn in the microwave! Trust me, you don’t want anything too bold underneath, or it’ll be as chaotic as my sock drawer. Stick with something that’s a little shy but ready to support its spotlight-stealing textured friends! It’s gonna look adorable!
Which Tools Are Essential for Textured Wall Painting?
For absolutely fabulous textured wall painting, you’ll need magic tools! A bouncy sponge for dabbing, a funky fork for creating groovy lines, and a broom brush—yes, you heard it—to make wild swooshes! Imagine the masterpiece you’ll create! I’ve used them myself and my walls have never looked more adorable. Don’t forget gloves for that mess, and have fun splashing color! You got this! It’ll be the talk of your home!
How Do I Remove Textured Paint if I Change My Mind?
So, you’ve decided that textured paint isn’t your style anymore? Totally get it! First, grab a good ol’ sander and start smoothing that wall down. It’s like a workout, but for your arms! Next, clean everything up with soap and water, and finish with a fresh coat of primer. It’s like giving your walls a delightful spa day! Trust me, the room’s gonna feel so fresh and so clean!🌟🏠✨
Conclusion
You’ve got a treasure trove of fun painting techniques to transform any wall from drab to fab! Remember, a change is as good as a holiday, so don’t be afraid to experiment with colors and textures! My favorite is the Venetian Plaster—it’s like spreading elegance with a trowel! Whichever you choose, your home will scream “adorable” and “cozy.” Now, grab a brush and let your walls sing!
Elle brings creativity and hands-on expertise to Luna Nest Home. Passionate about transforming spaces through approachable DIY projects and stylish touches, she empowers readers to craft beautiful homes on any budget. Elle’s friendly, artistic vibe shines through every tutorial and styling tip she shares.