Craft your very own rustic wooden wall art for a cozy farmhouse touch! Use reclaimed wood with unique stories, adding a dash of warm character to any room. Mix paint colors, let your creativity run wild with hammering for texture, and add quirky accents like buttons or stencils. Hang your creation proudly—for an eye-catching focal point that sparks joy and a smile. Ready to discover more charming tips and tricks? 🎨✨
Choosing the Perfect Wood for Your Project

When it comes to choosing the perfect wood for your DIY rustic wall art, you’ll want to pick something that’ll make your heart sing! Imagine this: you’re strolling through a lumberyard like a kid in a candy store, searching for that one delightful piece of wood. Go for reclaimed wood—it’s got that adorable weathered look, each piece with its own story! Maybe it once held up someone’s cozy farmhouse! Pine and cedar are great too, giving your art that gorgeous rustic feel. Just think of the cozy vibes they’ll create in your home! Trust your gut—if a piece has you grinning like a cat with cream, you’ve found the one! Let your heart guide you, and your wall art will be extra charming!
Essential Tools and Materials Needed

Ah, the thrill of gathering your tools and materials for that epic DIY rustic wooden wall art! It’s like prepping for a cozy adventure, isn’t it? First up, you’ll need that trusty wood glue to hold everything together like BFFs! Don’t forget your sanding block to smooth those rough edges — smooth like butter, my friend! Then there’s the jigsaw, perfect for making those adorable curves or funky shapes. And how about some wood stain to give your art that delightful, rustic feel? Your hammer’s a must, of course, for all those nails and hangers! Always keep a tape measure handy — guessing’s for the birds! Grab some paintbrushes for the finishing touches and let your creativity go wild!
Planning Your Design Layout

Get ready to release your inner artist, because planning your design layout is where the fun begins! Start by picking a color palette that makes you smile, whether it’s coastal blues or sunny yellows, and pair it with wood types that whisper “rustic charm” like oak or cedar. Just imagine how incredible your cozy masterpiece will look, and don’t forget to name your creation something totally whimsical like “Woodland Whisper” or “Country Charm Delight”!
Choosing Color Palette
Choosing a color palette for your rustic wooden wall art can be a delightful adventure! Visualize this: You’re cozied up with a hot cocoa, sifting through adorable paint swatches, dreaming of your perfect farmhouse vibe. Isn’t it exciting to let your inner artist run wild? Start by envisioning the emotions you want from your space—do you fancy warm and earthy hues, or perhaps cool, calming tones? Imagine the personality your room will have!
Think about contrasts—mixing soft pastels with bold, dark shades creates stunning visual drama. Don’t forget to ‘taupe’ it off with some neutrals to balance things. Oh, and throw in playful names like “Barn Red Blush” or “Golden Sunrise”! After all, every wooden piece deserves its signature color flair. Let those ideas flow!
Selecting Wood Types
Let’s explore the world of wood types for your rustic masterpiece, like choosing ingredients for a cozy soup! Whether you’re eyeing aged oak or breezy pine, each has its own charm and story! Pine is soft and adorable, with its knotty patterns bringing that farmhouse warmth. Oak, on the other hand, is sturdy and dignified, perfect for a lasting impression on your wall! Don’t forget delightful cedar with its fragrant, cozy aroma—it’s like a hug for your wall!
When picking wood, think of how they’ll complement your design layout and color palette! Imagine boards like different friends at a party, each with their unique vibe. Try mixing them! Their quirky personalities can create a smile-inducing wall wonderland! Your rustic art won’t just be charming—it’ll be unforgettable!
Techniques for Aging and Distressing Wood

While transforming new wood into a charming aged piece may seem like magic, it’s easier (and more fun!) than you’d think! Imagine your rustic wall art telling stories of cozy farmhouses and delightful adventures! Start by creating a weathered look using everyday items like vinegar and steel wool—sounds quirky, right? Mix them, let it sit, and presto—the mixture turns your wood into something reminiscent of Grandma’s barn!
Feeling adventurous? Slam your wood with chains or hammer it gently for that rugged, lived-in look. Sandpaper helps too, softening edges and surfaces like a pro! Paint in a carefree, messy way for an adorably distressed finish. You’ll create perfectly imperfect art that’ll make guests wonder if you’ve found a secret rustic treasure trove!
Cutting and Assembling the Wooden Pieces

Grab your tools—it’s time to cut and assemble those wooden pieces for a wall art masterpiece! Channel your inner carpenter, and let’s have some fun! Envision this: your farmhouse walls, graced with rustic charm that you’ve crafted with your own hands. Start by cutting those wooden pieces; think of it as a wooden puzzle awaiting assembly—minus missing pieces! Use adorable wood like pine or oak and imagine the cozy vibes they’ll bring.
Once everything’s cut, start piecing them together! It’s just like a delightful puzzle night, but with a punch of creativity and less late-night pizza! Remember, it doesn’t have to be perfect, just perfectly you! Secure the pieces together and voila—your rustic canvas is ready for its starring role!
Creating Texture With Paint and Stain

Hey there, creative genius! Let’s add some pizzazz to your wooden art with paint layering and staining that creates a charming, rustic texture! Imagine brushing on your favorite earthy tones with a funky textured brush—it’s like giving your wood a cozy sweater!
Paint Layering Techniques
Envision this: a gorgeous rustic wall piece that looks like it popped right out of your favorite home décor magazine! You’re ready to create that cozy vibe, and paint layering techniques are your new best friend. Imagine your wooden canvas as a blank slate, ready for a delightful dance of colors! Start with a base color—something classic or a little wild if you’re feeling brave. Then, layer on lighter or darker hues to build texture and depth. Don’t be afraid to let your brush dance around; a little randomness adds charm!
And remember, if your first effort looks like an abstract squirrel painting, that’s okay! You’ll get better every time! Soon, you’ll have an adorable art piece that feels uniquely yours and farmhouse-fabulous!
Staining Depth Variations
You’re in for a treat as we plunge into the world of staining depth variations! Imagine bringing adorable charm to your farmhouse walls without breaking a sweat. You can play with different stain intensities to create delightful patterns that add so much cozy texture. Think of it like creating art with shades! One moment, you’re dabbing on a light walnut brown, and the next, you’re deepening it to rich mahogany with a second coat. It’s like magic! From a gentle whisper of color to bold statements, you’re painting a story on wood. Don’t stress out; embrace the imperfections! Sometimes, those unexpected splashes and streaks form the best parts. So grab a brush, let loose, and make stain your new best friend!
Textured Brush Applications
You’re going to love diving into textured brush applications—it’s like a mini adventure in creativity! Imagine giving your wooden wall art a bit more oomph with just a flick of a brush. Instead of smooth and plain, you’ll create a look that’s full of cozy charm! It’s like adding sprinkles to your cupcake. The trick is to use different brush sizes—one for big swoops and another for tiny details. Try a bristle brush for a rustic, almost weathered feel—it’s adorable!
Mix paint and stain to play with colors! It’s like baking a cake; you always end up with something unique. Famous DIY-ers call them “magic wands”—so start swishing and flicking! Enjoy the happy chaos, and soon your wall art will have personality and flair!
Adding Personal Touches and Details

So, you’ve got your rustic wooden wall art ready, but it’s time to jazz it up with some personal touches—let’s make this piece scream “you!” Adding those adorable details is like giving your art a big, cozy hug, and it’ll make every glance at it fill you with joy. Imagine a splash of color or cute stencil art reflecting your personality—it’s like your soul on display, but with wood! Grab those funky buttons from that sewing box or use twine to create charming shapes. You could even borrow Aunt Rita’s idea and add mini chalkboards for changing quotes or doodles. Every little tweak makes your art uniquely yours and oh-so-delightful. Let your creativity run wild!
Installing Hanging Hardware Safely

Alright, my creative friend, let’s chat about making sure your rustic masterpiece doesn’t come crashing down like a wobbly puppy! You’ll need secure fasteners that can handle the weight of your art, keeping your walls cozy and damage-free. Imagine the delight of showing off your adorable art, knowing it’s safely hung and adding charm to your space!
Choosing Secure Fasteners
When it comes to making sure your stunning rustic wall art stays up where it belongs, choosing the right fasteners is essential! You wouldn’t want your masterpiece crashing down during a dinner party, right? Those delightful pieces you create deserve more than flimsy hooks that give up too easily. For lasting stability, use secure fasteners like D-rings or picture hanging wire. They’ll keep your art hanging strong and proud! Think of them as the superhero sidekicks of your wall art. Plus, they’re so easy to use! Just attach, hang, and admire how you’ve transformed your space. You’ll love the cozy farmhouse vibe! Trust me, with these trusty fasteners, pizza night will be all about fun, not fixing fallen frames!
Wall Damage Prevention
Although creating gorgeous rustic wooden wall art is tons of fun, it’s important to think about how to hang it without leaving your walls looking sad! You don’t want your charming farmhouse look coming at the expense of your cozy living room’s appearance. Envision this: your delightful new piece swaying dangerously with each passing breeze—yikes! Avoid this heart-stopping scenario by choosing trusty wall-friendly tools!
Use picture hanging strips or damage-free hooks; they’re like little wall superheroes standing guard! When making those adorable wooden art pieces, check twice where studs are hiding, or consider using wonderfully whimsical drywall anchors for added stability. Remember, your wall art shouldn’t turn into a wall wound! Hang it right, and you’ll have both beautiful art and undamaged walls to admire!
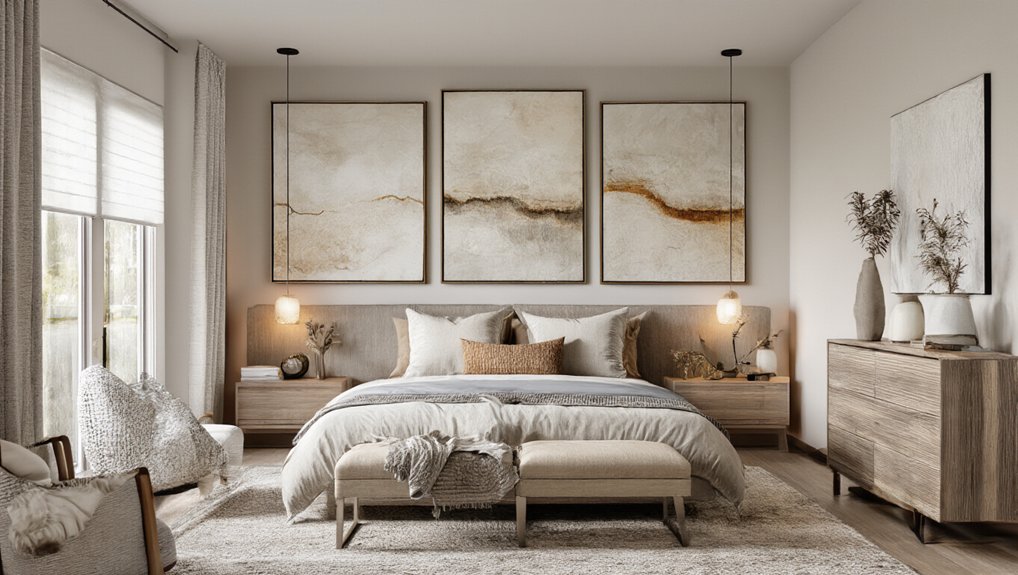
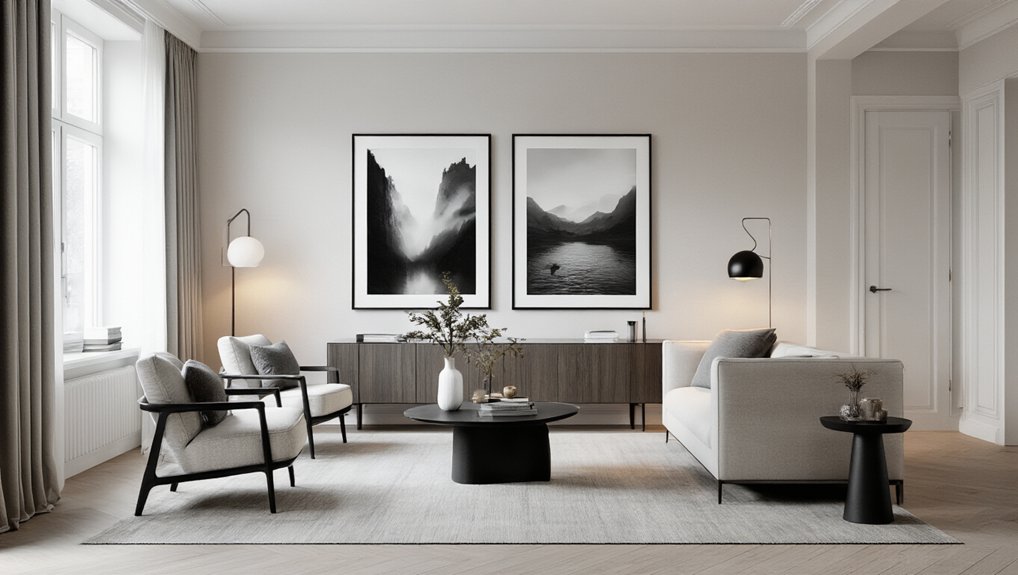
Displaying Your Finished Art in the Home

You’ve transformed everyday wood into a stunning piece of art, so now let’s find it a perfect home! Imagine this: your cozy living room, adorned with that delightful rustic charm, suddenly comes alive with your masterpiece hanging proudly on the wall! That wooden wonder can take center stage above the fireplace or become a talking point in the dining room. Don’t stress over perfection; it’s all about finding a spot where your art feels happy! I once hung a similar piece in the hallway, and it became our guests’ favorite selfie backdrop! Experiment with angles or pair it with some adorable farmhouse trinkets. Trust your instincts! After all, no one knows your style like you do! Enjoy the personal touch it adds!
Tips for Maintaining and Cleaning Your Wall Art

Keeping your wooden wall art looking its best is easier than you’d think, and it can be fun too! Just imagine this: You spend an afternoon with your favorite playlist and the company of your cozy creations, tending to them with love. Dust your DIY pieces weekly using a soft cloth—I’ve christened mine “Fluffy Feather Duster” because why not! It’ll swipe away dirt while you groove to your favorite tunes.
For stubborn spots, mix a drop of mild soap in water and wipe gently. Don’t let moisture linger, though—wood and water aren’t exactly besties! Show your art some sunlight (no direct rays, please) to keep that rustic charm longer. Enjoy nurturing your adorable decor! It’s like having a mini home spa day for your walls!
Frequently Asked Questions
How Can I Source Reclaimed Wood for My Wall Art?
Check local salvage yards or flea markets for reclaimed wood—these places are treasure troves! You might score some adorable wood with character and charm. Don’t forget to ask friends or family if they have old wood lying around—they might surprise you! Also, keep an eye on stores doing renovations nearby; they sometimes discard wood that’s perfect for crafting. Happy hunting, and let your creative spirit soar! 🌟
Are There Any Specific Safety Measures While Working With Wood?
Handling wood is like taming a playful dragon! First, grab some goggles and gloves, or you’ll end up in splinter city! Watch out for those pesky nails hiding like ninjas. Working in a well-lit area is as cozy as marshmallows by a campfire, and keep your tools sharp—or they’ll just be grumpy lumpies. Measure twice, cut once, and you’ll have a delightful masterpiece, not a rustic oopsie! Happy crafting, pal!
What Types of Designs Work Best for Smaller Spaces?
For small spaces, you’ll love using adorable mini designs! Try a cute cow silhouette or a petite barn scene. Simple shapes, like hearts or stars, create a cozy vibe and make your room feel delightfully snug. Bold, whimsical letters work too—how about a fun “Y’All” sign? Go for lighter wood tones; they won’t overpower your nook. Small works of art pack a big personality punch, making your space feel charming!
Can I Incorporate Other Materials Like Metal or Fabric Into My Piece?
Of course, you can totally mix in materials like metal or fabric! Don’t worry, it won’t ruin the cozy vibe; it’ll actually add a delightful, artsy touch! Imagine a rustic wood piece with a pop of metal for some shine—absolutely charming! Or a swatch of fabric for a soft texture that makes your heart happy. I once used my old denim jeans, and it looked seriously adorable! Immerse yourself and get creative, friend!
How Do I Ensure the Colors Don’t Fade Over Time?
To keep those delightful colors from fading, try using a high-quality wood sealant or protective varnish—think of it as sunscreen for your adorable masterpiece! You wouldn’t let your skin sizzle in the sun, right? Also, keep your masterpiece out of direct sunlight where possible. And don’t forget to use colors with good lightfast ratings; they’re like the trusty friends who stand by you through thick and thin! 😄 Enjoy making your cozy piece shine!
Conclusion
You’ve crafted a piece that speaks to the soul of your cozy farmhouse! Each rustic wooden art is like a charming whisper from the past, full of stories and warmth. Your delightful creation won’t just hang on a wall; it’ll nourish your home with heart and history! So whenever life gets a little too modern, glance at your art, smile, and remember: you’ve made something absolutely adorable! Keep that creative spark burning—who knows what you’ll create next?!
Elle brings creativity and hands-on expertise to Luna Nest Home. Passionate about transforming spaces through approachable DIY projects and stylish touches, she empowers readers to craft beautiful homes on any budget. Elle’s friendly, artistic vibe shines through every tutorial and styling tip she shares.